Bootstrap 5 File upload plugin
MD Bootstrap’s File Upload plugin is an extension that allows you to upload files by using drag and drop functionality. Easy to use, setup and customize.
File upload plugin built with the latest Bootstrap 5. Many customization options like custom height, max size, confirmation message, and much more.
Note: Read the API tab to find all available options and advanced customization
Basic example
Default message example
By adding data-mdb-default-msg attribute you can set main message of the file upload.
Custom height example
By adding data-mdb-height attribute you can set its custom height.
Max size
By adding data-mdb-max-file-size attribute you can set max size of a file.
Default value
By adding data-mdb-default-value attribute you can set default file in the file upload element.
Disable
By adding data-mdb-disabled attribute you can disable the component.
Accept formats
By adding data-mdb-accepted-formats you can set allowed file types.
Disabled remove button
By adding data-mdb-disabled-remove-btn attribute you can remove «Remove button».
Multiple files
By adding data-mdb-multiple attribute you can allow to upload more than single file.
Multiple with files limit
By adding data-mdb-max-file-quantity attribute you can set limit of uploaded files.
Usage
Via data attributes
Via JavaScript
Via jQuery
Note: By default, MDB does not include jQuery and you have to add it to the project on your own.
Options
| Name | Type | Default | Description |
|---|---|---|---|
| acceptedExtensions | Array | ‘[]’ | Allows you to set specific file formats |
| defaultFile | null / string | ‘null’ | Allows you set default file |
| defaultMsg | string | ‘Drag and drop a file here or click’ | Changes text of default message |
| disabled | string / boolean | ‘false’ | Makes drag and drop disabled |
| disabledRemoveBtn | boolean | ‘false’ | Allows you to disabled remove button |
| formatError | string | ‘Your file has incorrect file format (correct format(s) |
)’
‘ to show allowed formats)
)’
‘ to show value of max size)
Methods
| Name | Description | Example |
|---|---|---|
| dispose | Manually removes a drag and drop | FileUpload.dispose() |
| getInstance | Static method which allows you to get the file upload instance associated to a DOM element. | FileUpload.getInstance(fileUpload) |
| update | Manually updates settings in drag and drop | FileUpload.update() |
For example, to update component
Events
| Name | Description |
|---|---|
| error.mdb.fileUpload | This event fires immediately when you upload a file with wrong format or wrong size. |
| fileAdd.mdb.fileUpload | This event fires immediately when a file has been uploaded in to file upload component. |
| fileRemove.mdb.fileUpload | This event fires immediately when a file has been remove from file upload component. |
For example, to listen on file add event and get that file:
Import
MDB UI KIT also works with module bundlers. Use the following code to import this component:
Поле загрузки файлов, которое мы заслужили
Все течет, все меняется, но только input[type=file] как портил нервы всем начинающим веб-разработчикам, так и продолжает это делать до сих пор. Вспомните себя N лет назад, когда вы только начинали постигать азы создания веб-сайтов. Молодой и неопытный, вы искренне удивлялись, когда кнопка выбора файла напрочь отказывалась менять цвет своего фона на ваш любимый персиковый. Именно в тот момент вы впервые столкнулись с этим несокрушимым айсбергом под названием «Загрузка файлов», который и по сей день продолжает «топить» начинающих веб-разработчиков.
Разметка и первичные стили
Начнем с HTML-разметки:
Пожалуй, главным элементом, на который стоит обратить внимание, является
Вырисовывается план действий: стилизуем метку как нам угодно, а сам input[type=file] прячем с глаз долой. Для начала настроим общие стили страницы:
Теперь стилизуем нашу метку:
То, к чему мы стремимся ( input[type=file] убран из разметки): 
Безусловно, можно было отцентровать метку, добавить фон и границу, получив полноценную кнопку, но наш приоритет — Drag-and-Drop.
Прячем input
Поздравляю, мы добились того, чего хотели: наше поле выглядит именно так, как на предыдущей картинке.
Настраиваем фокус
В браузерах, основанных на движке WebKet (Google Chrome, Operа, Safari), свойство по умолчанию для элементов в фокусе имеет вид:
Открываем Google Chrome или Opera, смотрим. Все работает как надо:
Посмотрим, как обстоят дела с фокусом в Mozilla Firefox и Microsoft Edge. Для этих браузеров свойство по умолчанию имеет вид:
Добавляем стиль из Mozilla Firefox перед стилем для WebKit: сначала все браузеры применят первое свойство, а затем те, которые могут (Google Chrome, Opera, Safari и др.), применят второе.
Ну ничего, нормальные герои всегда идут в обход. Как я сказал ранее, событие focus случается, а значит, регулировать свойства мы можем прямиком из JavaScript. Но для этого нам придется поменять логику нашего селектора:
Теперь все работает как надо. Поздравляю, с фокусом мы разобрались.
Drag-and-Drop
Для начала определим Drag-and-Drop-элемент:
Теперь перейдем в JS-файл. Для начала, нам необходимо отменить все действия по умолчанию на события Drag-and-Drop. Например, одно из таких событий — открытие кинутого файла браузером. Нам это совершенно не нужно, поэтому пропишем следующие строчки:
Начнем описывать свой собственный обработчик событий. Поступим так же, как делали с фокусом, но на этот раз будем отслеживать события dragenter и dragover для добавления класса и событие dragleave для его удаления:
И опять нас ждет неприятный сюрприз: при движении по dropZone мышью с файлом поле начинает мерцать. Происходит это в Microsoft Edge и WebKit-браузерах. Кстати, большинство этих самых WebKit-браузеров в настоящее время работают на движке Blink (оценили иронию, а?). А вот в Mozilla ничего не мерцает. Видимо, решил исправиться после багов с фокусом.
И все, проблема решена! Вот так выглядит наше поле с файлом внутри:
Теперь проработаем способ загрузки через input[type=file] :
Отслеживаем событие change на кнопке выбора файлов, получаем массив через this.files и отправляем его в функцию.
Отправка файлов через AJAX
Последний этап — описание функции обработки файлов — уникален для всех и каждого. Он будет прямым образом зависеть от той цели, которую вы преследуете. Для примера я покажу, как отправлять файлы на сервер через AJAX.
Допустим, мы создаем поле для загрузки фотографий. Мы не хотим, чтобы к нам на сервер попало что-то другое, поэтому определимся с типами файлов: пусть это будут PNG и JPEG. Также стоит регламентировать максимальный размер одной фотографии, которую может отправить пользователь. Ограничимся пятью мегабайтами. Начнем описывать нашу функцию:
Теперь все готово для отправки файлов через AJAX. Добавим в нашу функцию следующие строчки:
Поздравляю, теперь вы умеете создавать свое собственное поле загрузки файлов! Конечно же, я не позиционирую свой способ как единственно верный и правильный. Своей задачей я ставил показать общий ход решения данной задачи, подходящий в первую очередь для новичков. Если вы считаете, что где-то что-то можно было сделать лучше — пишите в комментариях, обсудим!
Bootstrap 4 File Input
I am struggling with bootstrap 4 file browser. If I use custom-file-control I will see Choose file value all the time. https://v4-alpha.getbootstrap.com/components/forms/#file-browser
not I need to change

16 Answers 16
Updated 2021
Bootstrap 5
Custom file input no longer exists so to change Choose file. you’d need to use JS or some CSS like this.
Bootstrap 4.4
Displaying the selected filename can also be done with plain JavaScript. Here’s an example that assumes the standard custom-file-input with label that is the next sibling element to the input.
Bootstrap 4.1+
Now in Bootstrap 4.1 the «Choose file. » placeholder text is set in the custom-file-label :
Changing the «Browse» button text requires a little extra CSS or SASS. Also notice how language translation works using the lang=»» attribute.
Another Bootstrap 4.1 Option
Alternatively you can use this custom file input plugin
Bootstrap 4 Alpha 6 (Original Answer)
I think there are 2 separate issues here..
In Bootstrap 4, the initial placeholder value is set on the custom-file-control with a CSS pseudo ::after element based on the HTML language. The initial file button (which isn’t really a button but looks like one) is set with a CSS pseudo ::before element. These values can be overridden with CSS..
Once a file is selected, the value can be obtained using JavaScript/jQuery.
However, since the placeholder text for the input is a pseudo element, there’s no easy way to manipulate this with Js/jQuery. You can however, have a another CSS class that hides the pseudo content once the file is selected.
You can then handle the file upload or re-selection as needed.
22 Best Practical Bootstrap File Uploads (In 2021)
After our thorough research, we collected the best Bootstrap file uploads that you can quickly integrate into your web applications.
We reviewed over 50+ of them, but these are the ones that stand out.
Looking for different sources to provide for your needs takes more time than you think.
No need for that anymore.
Setting up file upload lets your audiences navigate and upload or download a document(s).
And you DON’T NEED to make it happen from scratch.
It boosts the functionality of your website and enhances its purpose for visitors who want to connect more with you.
I will show you 22 Bootstrap file uploads to help you get the most of your website.
Best Free Bootstrap File Uploads
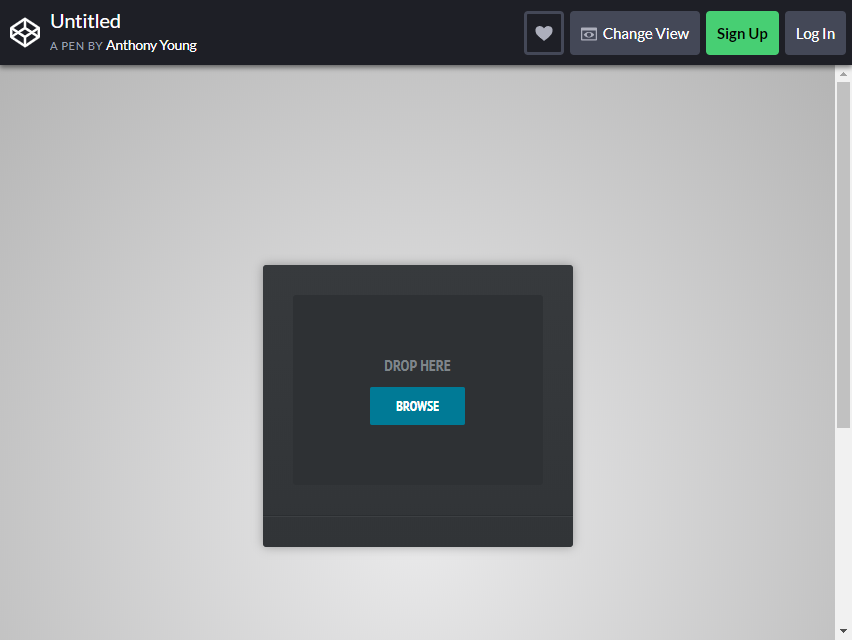
Custom File Upload
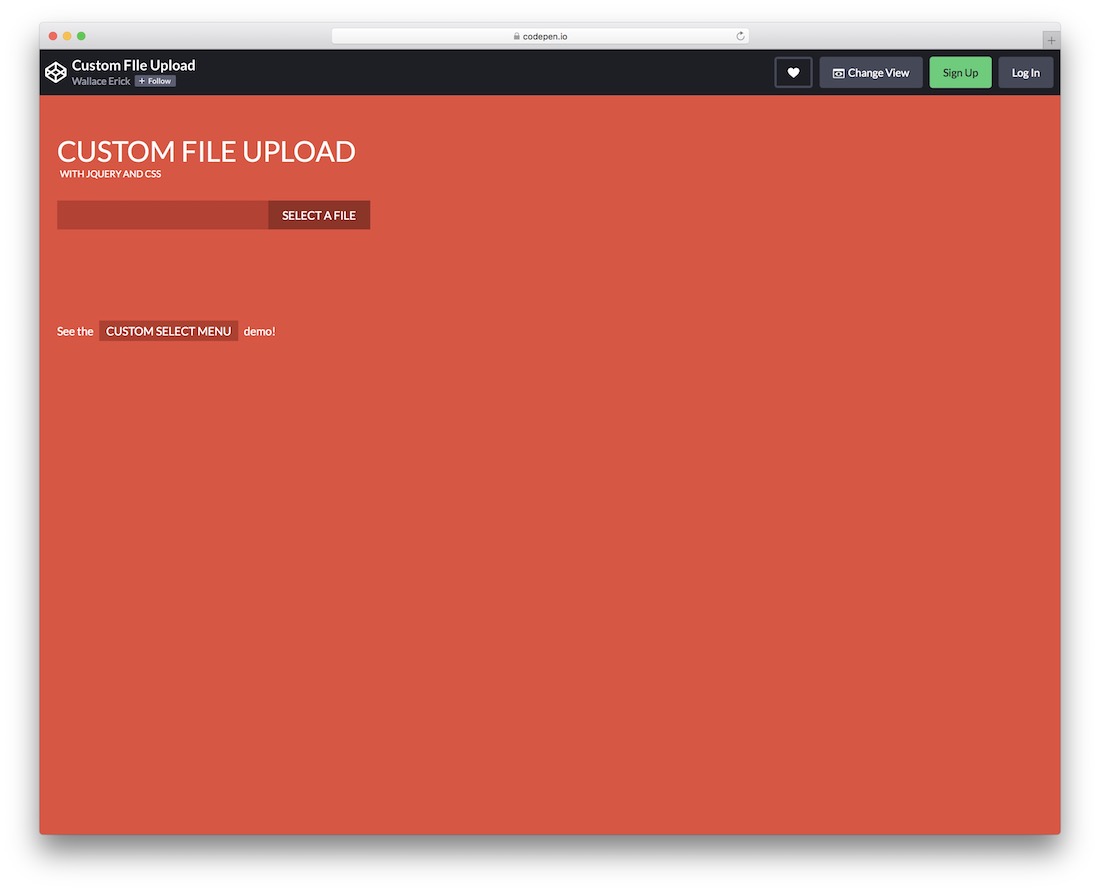
Offer your users to select a custom file directly from the device and upload it to your website. This convenient solution will integrate with your web application easily and quickly.
You may need to perform just a few tweaks and improvements and that’s it.
For this, you do it all over on CodePen, FINE-TUNING it according to your needs and liking. It features only modern technologies, promising excellent performance on different screen sizes and devices.
File Upload Input
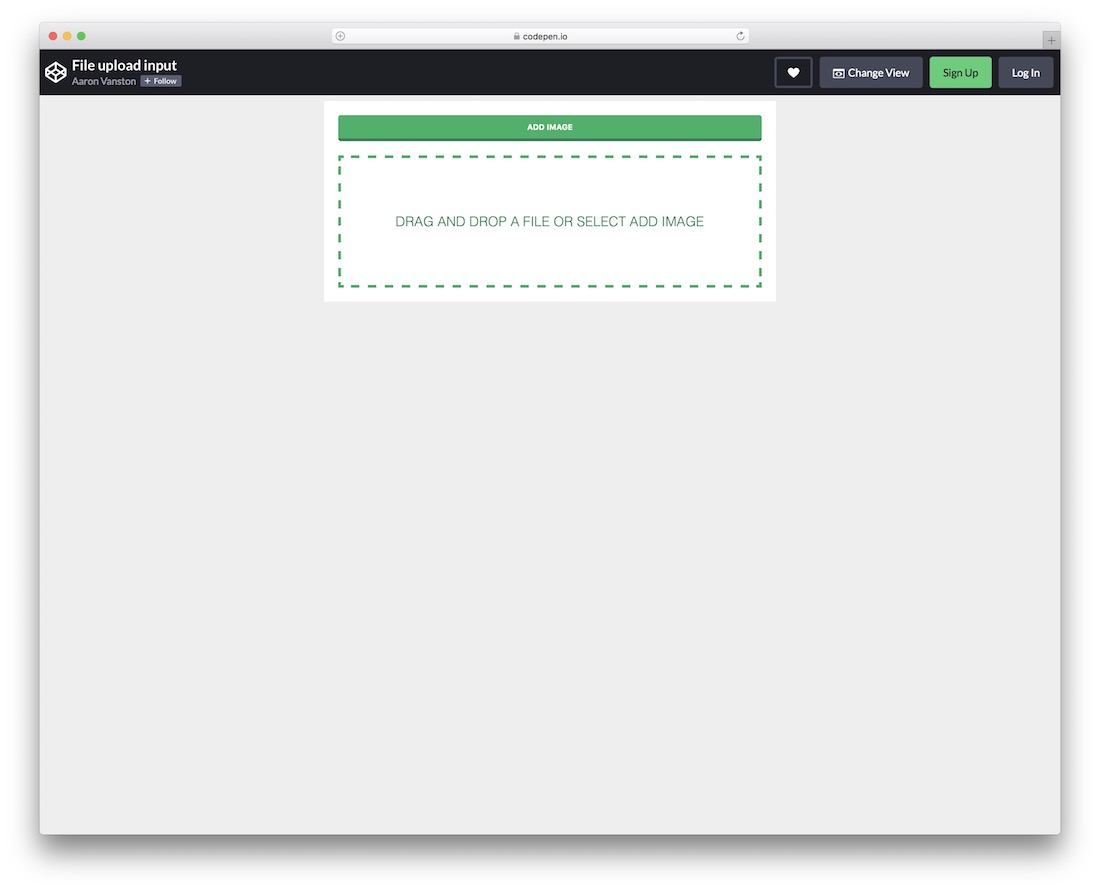
If the above Bootstrap file upload is a bit too basic for you, I am sure this modern alternative will do the trick. When it comes to this particular solution, a user can either hit the button to pick the item/file or simply drag and drop it to the specific area.
The latter also features a hover effect that makes it go green.
Of course, if you would like to BRAND the snippet with your custom color schemes, by all means, make it happen. It is not something that will take you long, so take charge, work on edits and integrate it into your application.
Custom Choose File
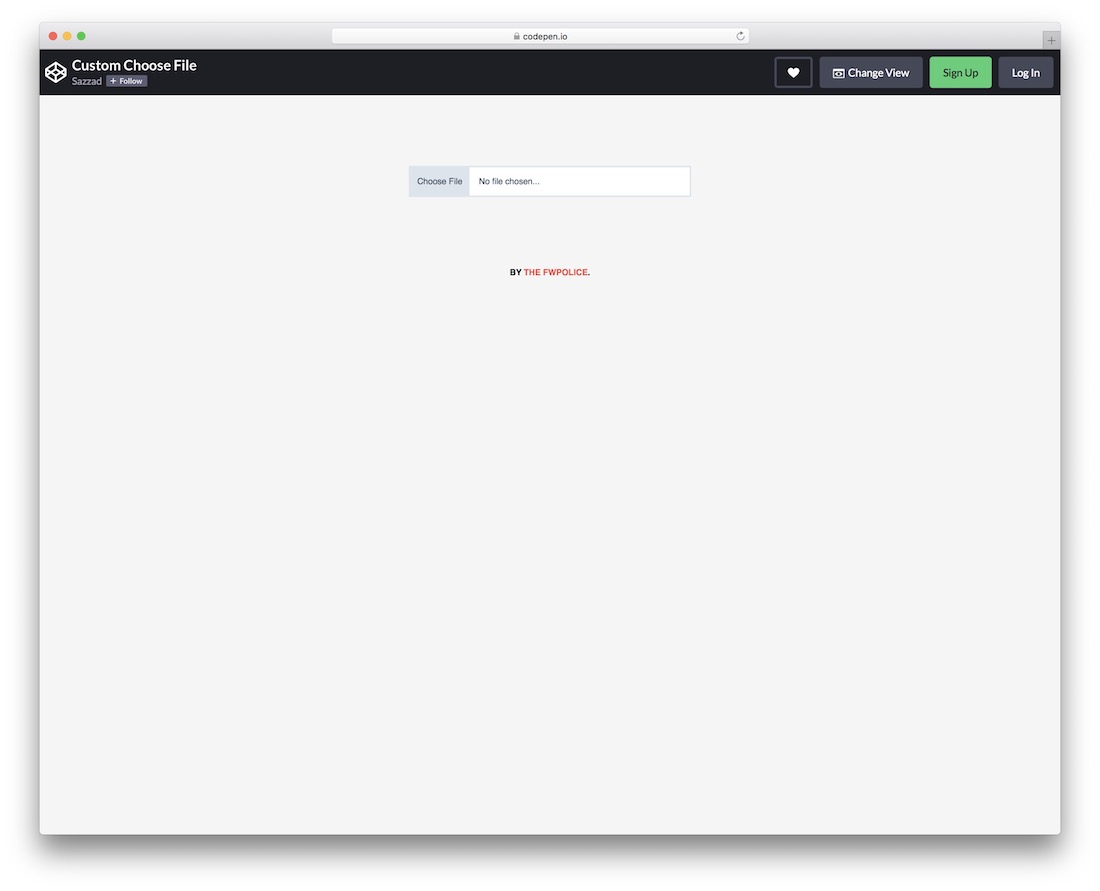
A simple and minimalist custom file upload based on Bootstrap, HTML, CSS and JS.
The user-friendly code structure ensures that everyone gets the most out of it, whether you use it as-is or improve it further.
Actually, after you access CodePen, you can configure the default settings INSIDE your favorite web browser. You can also play with colors and fonts, making the outcome follow your style precisely.
DailyUI 31
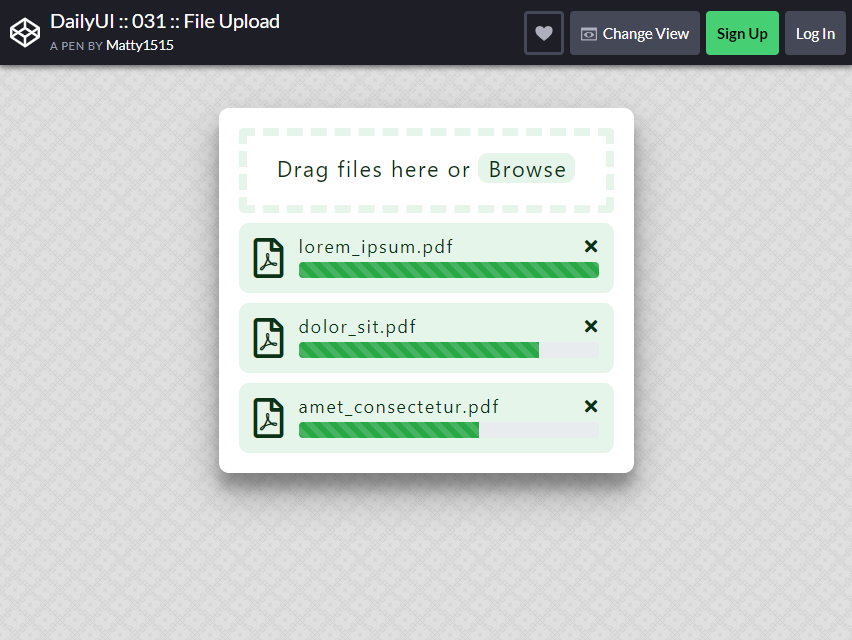
PDF file upload is essential for a website that is asking for a PDF document. You can drag files or browse to upload the file you are going to send.
Through this data, it is allowed to upload up to two or more PDF files at the same time. The image is clear and placed in the middle of the page for a more comfortable view.
You can navigate it without difficulty.
There are no further actions needed. Just A FEW CLICKS, you can now upload the file.
Getform.io HTML Form
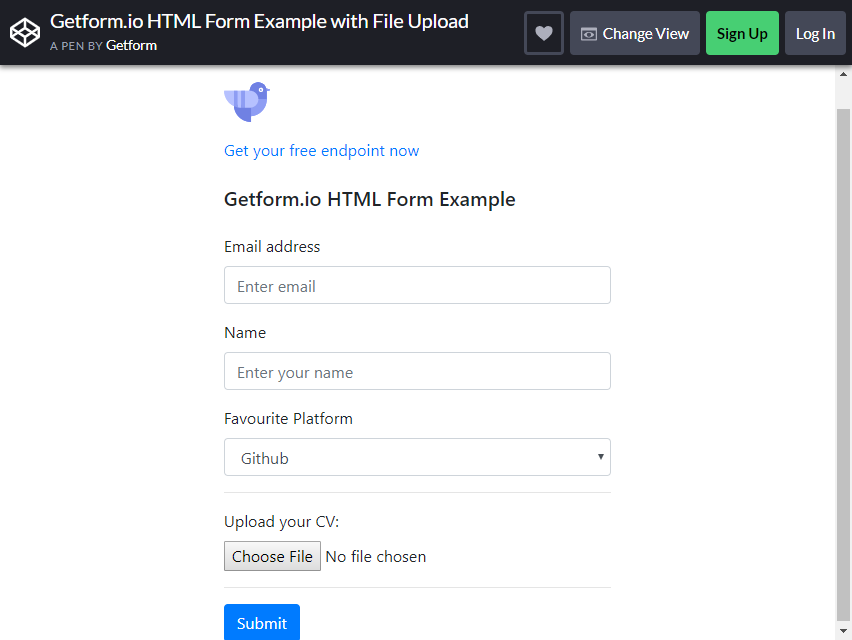
Do you wonder where to get file upload to ask for someone’s data such as email address and name? This form is great for asking the details of applicants or those who want to apply for a job.
In this Bootstrap file upload format, you can also ask for the favorite platform, and ask the applicant to choose a file to upload his CV.
It is concise and straightforward. The name input is more engaging because it is not separated into First Name, Middle Name, and Last Name, which makes it easier to read.
To fill out the form, a person only needs to write his full name without clicking to different sections. It provides ALL THE INFORMATION asked for the applicant.
Besides, you don’t have to ask for someone’s total data when you are just going to get his CV file – where all his essential information is written there.
Custom Native File Input
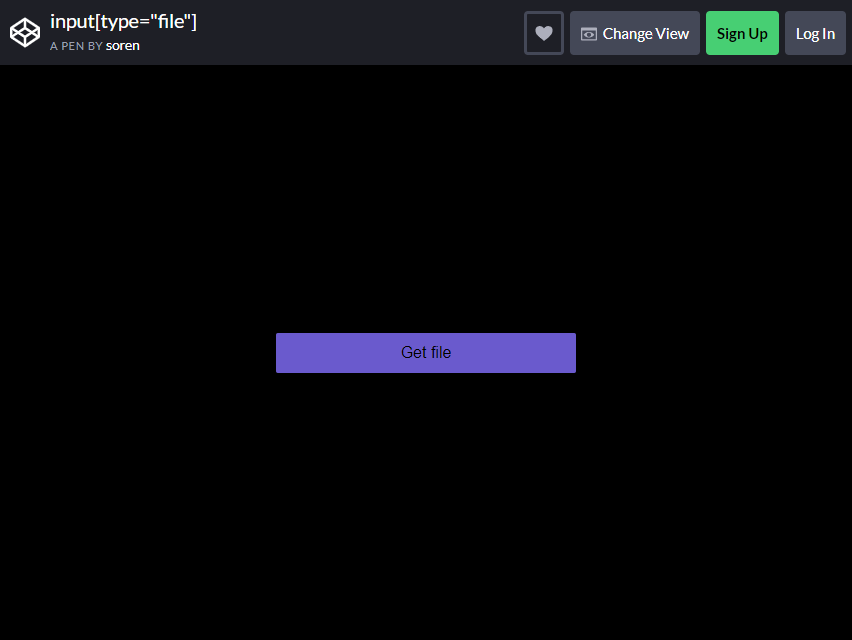
This file input is pretty simple but always works right. Even though it is one click away button, its purpose is still the same. The size is big enough to be seen by the audience.
Small file upload is one of the common problems of other pages. I have seen a lot of ‘Get File’ button that is so small and hard to click and has a very dull color.
The color is ESSENTIAL for better viewing. Before navigating the cursor, you will see that the color is cornflower blue, but once you hover the cursor at the middle, it turns into medium aquamarine.
What is the purpose of these colors? It indicates that you are in the right cursor, and once you click it, you will get what you asked for.
File Upload Box
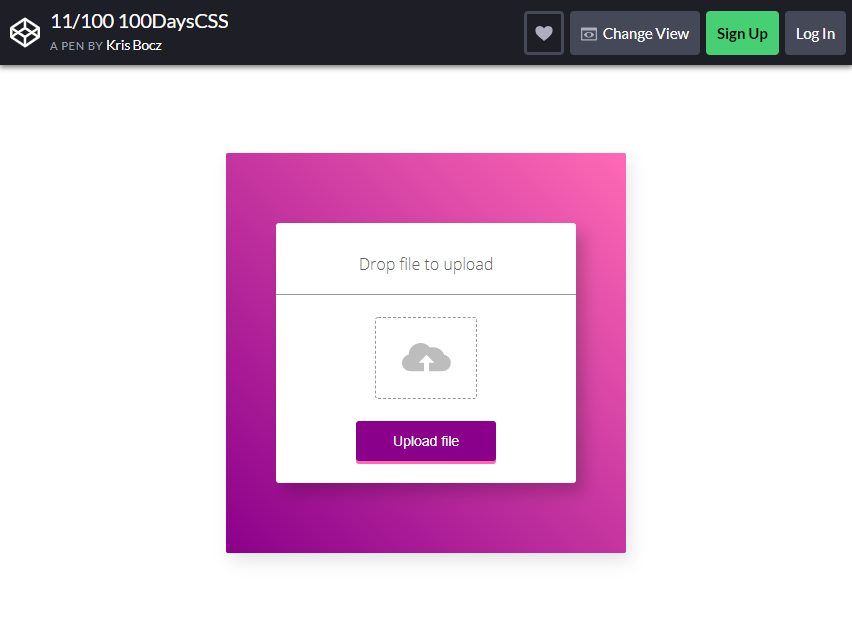
The box is chic and pretty. Remember that when an audience visits your website, he’s LOOKING for a visually-relaxing page.
With the right color contrast file upload format, it can add to the beauty of your site and attracts more audience to come to visit.
The File Upload Box has two options: drop file to upload or upload a file directly from your storage, whichever is more convenient to you. It is big enough and comfortable to click on.
At the middle of the box, you can see a cloud and an arrow upward, that’s where you will drag a file. Putting this kind of picture makes it easier for your visitors.
If your blog or page is all about girly/feminine kinds of stuff, you could use this format. But this is for general application without a specific niche.
Bootstrap Modal with File Upload and Preview

Do you set up your website to let people connect with each other? This is the perfect Bootstrap file upload for connection. As you launch the Bootstrap Modal, you can see a preview of the status box.
Let your audience ENJOY writing their status to have more association with people. One better thing about this format is the emoji-picker. At the side of the status bar, you can also see the button to upload a picture.
The style of the status bar is similar to what you are using in social media accounts.
This will add a more significant impact on your website. Another thing, the way it was made is simple and easy to understand. Its white color is just perfect for any theme you’ve chosen for your site.
Image Upload Button
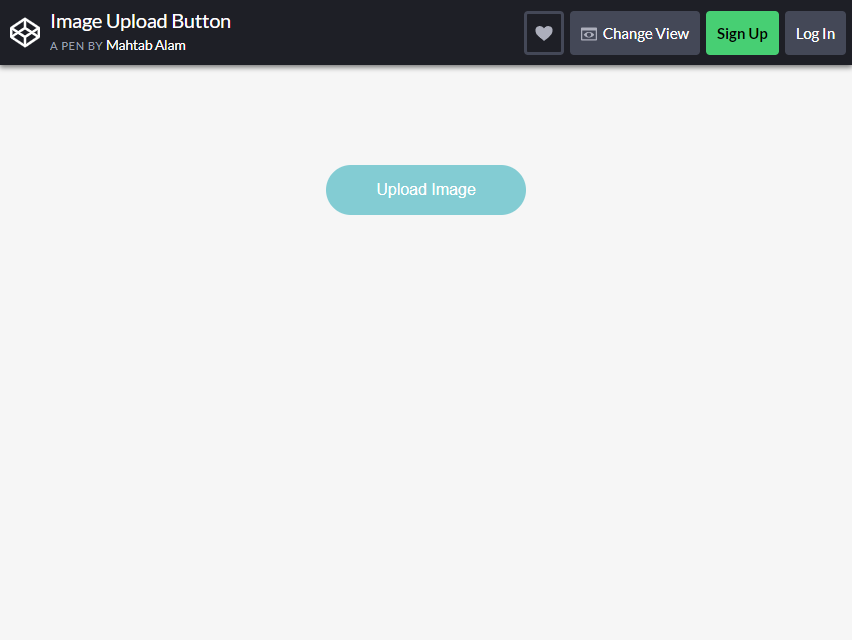
If you are looking for a natural image uploader to your website, this is one of the best choices. To use it, click the circle button, and the files explorer will appear.
You upload an image from your local storage by clicking the image or typing the file name. It will only take 1-3 seconds to have a preview of your photo if you have chosen the right one.
You can easily remove the image if you’ve got the wrong item by clicking the X button at the right upper section.
The size is just right and will NOT CONSUME a lot of space. It also prevents your blog from lagging. Its performance is still the same, and you have nothing to worry about.
File Upload Form for Google Drive
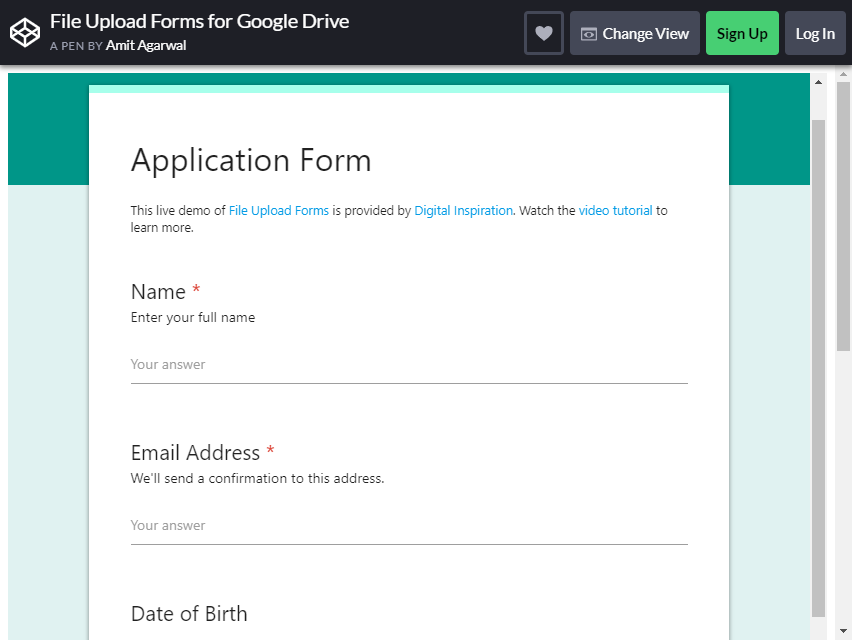
If you prefer to ask your audience to fill out a form to get redirected to Google, this is one of the best ways to be included in your blog. It has SIMPLE navigation and EASY to read captions.
The same with the Getform.io form, you don’t have to separate your full name into three sections, but you can just type your name straight.
At the name, email address, degree, and resume are the most essential section in the form that you should not leave out empty.
A calendar will appear for you to be able to fill out the birth date section and choose which are the right month, date, and year. Browse picture from your storage to upload it.
The best section is E-signature box. From the user’s phone, they can sign in there. Do not forget to check the Agree section, and click the Recaptcha to proceed.
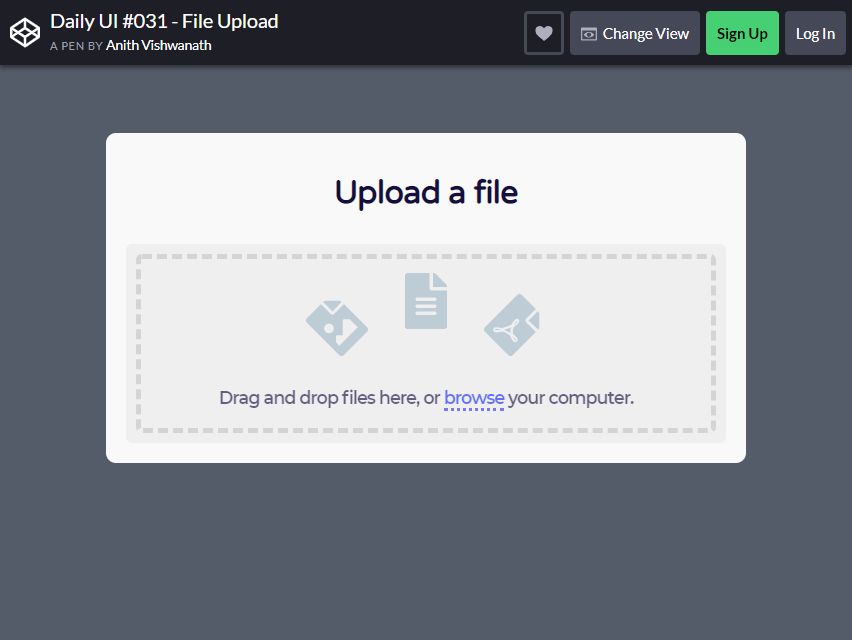
Daily UI #031 – File Upload
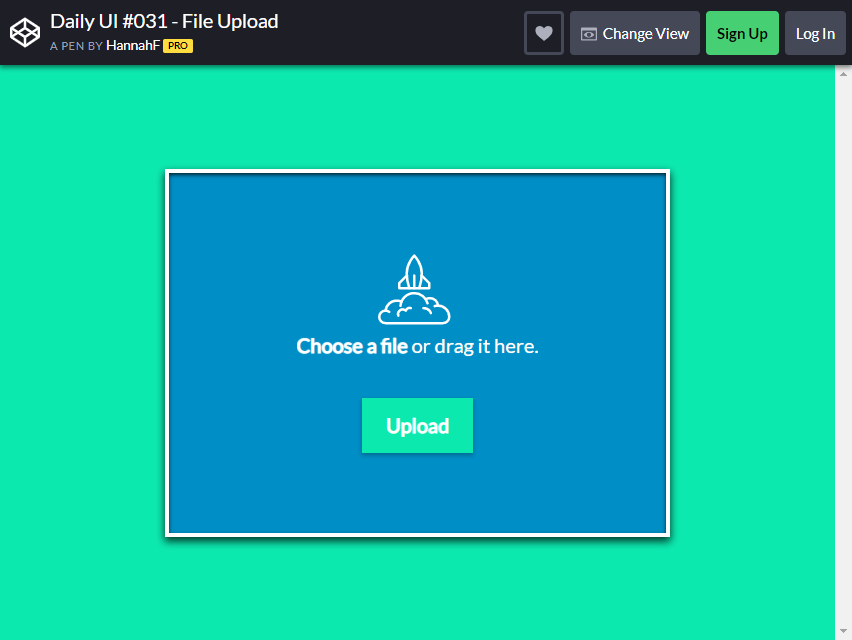
The upload file box is large enough to navigate. You have the option to choose a file or drag it inside the box.
If you hover the mouse cursor to the Upload button, the button will have a shadow on sides.
That indicates that the file is READY to upload. The blue color of the box makes it more appealing.
File Upload Form
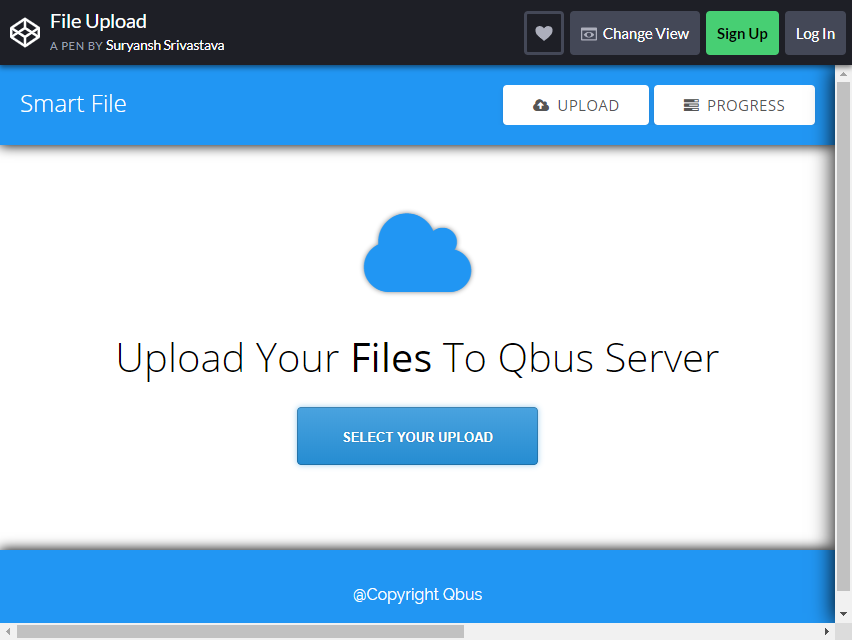
This form is perfect for uploading Smart Files. You can see the Upload and Progress button at the right upper section. After uploading the file, you can see the overall progress status of what you uploaded.
At the progress status bar, you will find the file name, file size, and file link of the file. You have the option to copy the link of your data.
One GREAT thing about this bootstrap file uploads form, the box is big enough to navigate it entirely. It can be seen clearly on your page, and the text is large enough for the viewers.
Multiply File Uploader
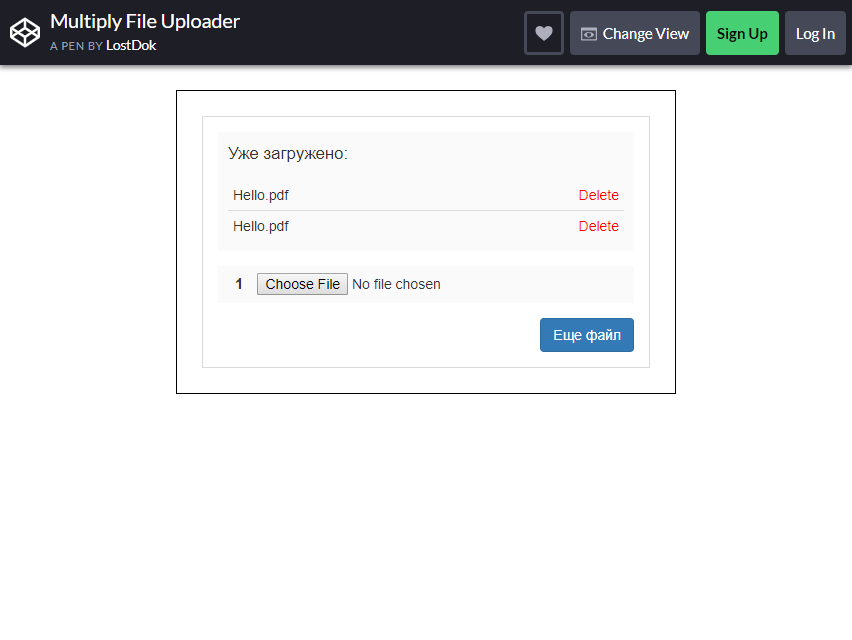
The file uploader format is pretty simple, but you can upload multiple files at the same time. If you uploaded the wrong file, just click the delete button next to the file name.
This file upload can be used for several blogs. Setting this up will NOT SLOW DOWN the function of your website.
File Upload Styled
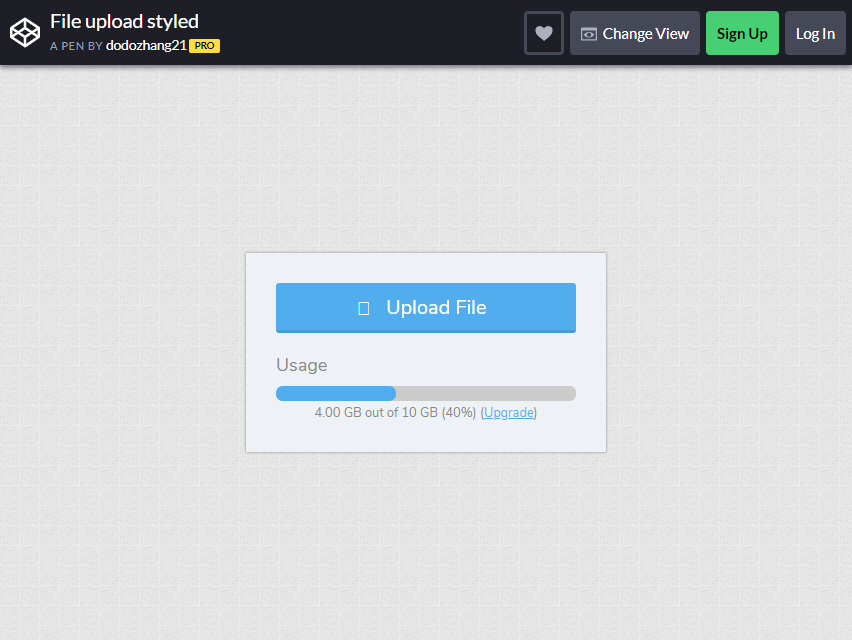
In this file upload format, you can let the user upload up to 10GB of a file in the page. There is a blue button to click on to upload the file.
At the bottom, you can see the usage indication, whether you used up 4GB from 10GB limit of a file to upload.
If the user wants to upgrade the MAXIMUM size of the data to be uploaded in the page, he may click the ‘Upgrade’ button next to the Usage indication.
The box is clear and simple, without too many designs that makes it understandable for the audience to read and navigate.
File Upload with Sorting
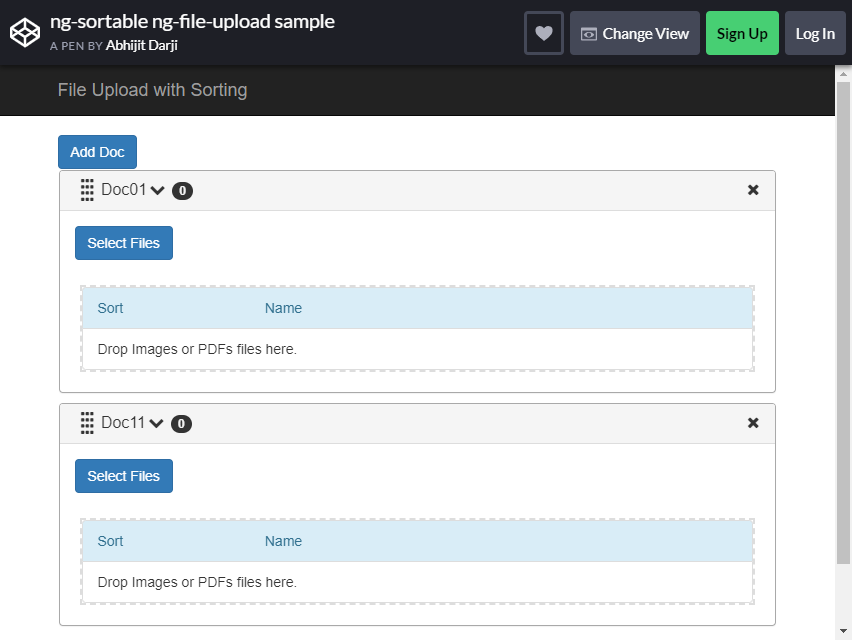
If you want to have a more advanced file upload format, this is one of the best options. In this form, you can sort the file you’ve uploaded from your storage. Click the ‘Select File’ button to transfer the data.
As soon as you click the document, you can see the information such as Name, Size (MB), Type, and where it was modified on.
If you click on the different file, you can just choose to click the delete button at the last section of the uploaded file’s row. You can have multiple selections with this format.
File Upload IU

Drag the file or other documents inside the dashed line. Files can be PDF too. Just like from other formats, you can drag and drop the files or just simply browse it directly from your storage.
Once you finished uploading it, the data will appear at the bottom of the dashed line box. You can see that it’s 100% done. You have to option to delete it if you have mistaken from choosing a file.
At the bottom next to progress box, you have the option to Go Back if you changed your mind on uploading the file or just click the ‘Upload’ button to continue.
The format is ACCESSIBLE and can add to the beauty of your blog. It’s easy to set up too!
Angular File Upload Directive
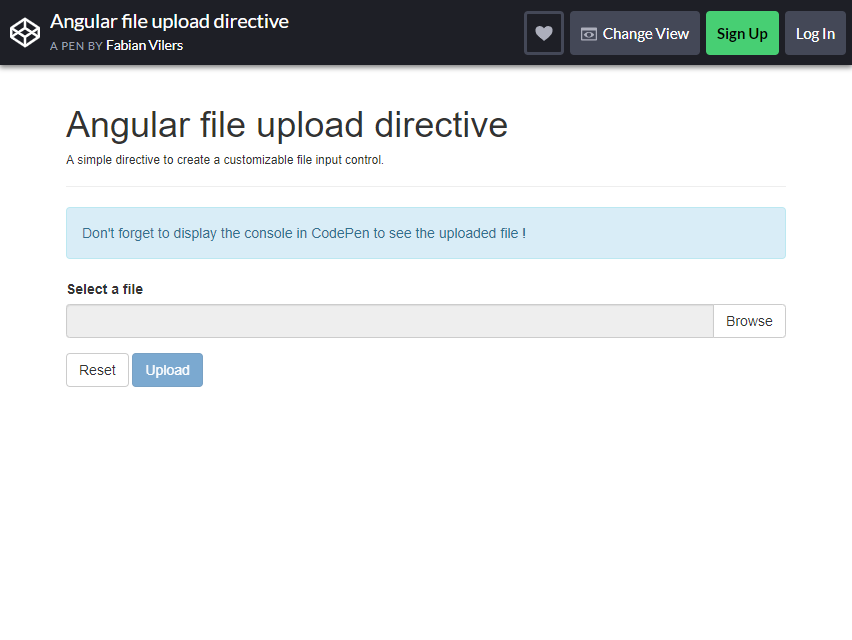
Selecting a file and uploading it in your page has never been this easy. From your storage, the user can pick from their storage to upload on the web page.
There is a ‘Reset’ button at the bottom and ‘Upload’ button next to it. It’s just a SIMPLE directive for your file input control. There are no further buttons and navigation just to upload the file.
There are only three buttons to be exact. If you want a more straightforward format, this can be the right choice. Sometimes, simpler is better.
Simple File Uploader
This format is appealing because it has icons inside the dashed line. The icons indicate a picture, document, or PDF. These types of file are readable and available to get uploaded to the website.
It helps the audience or user to learn what file is applicable. Aside from that, the picture engages more to the audience, even to those who don’t know to read. The text format also gives charm to the format.
This may be a basic format that’s uncomplicated to use. To upload the file, drag or drop your file or browse from the file explorer.
Which do you prefer, the plain or the complicated one?
Plain File Upload Format
You can see that there is only one button to click on this format. Inside the box, you can also drag the document needed. This is ideal for some websites who are just asking for a simple file.
As you can see, the background color is black, which makes it more available to any kind or theme of a website.
The size of the box is just right and doesn’t consume tons of space on your page.
When it comes to single file uploads, aim for simplicity. This way, the user can upload EASILY and QUICKLY.
To-do List Format
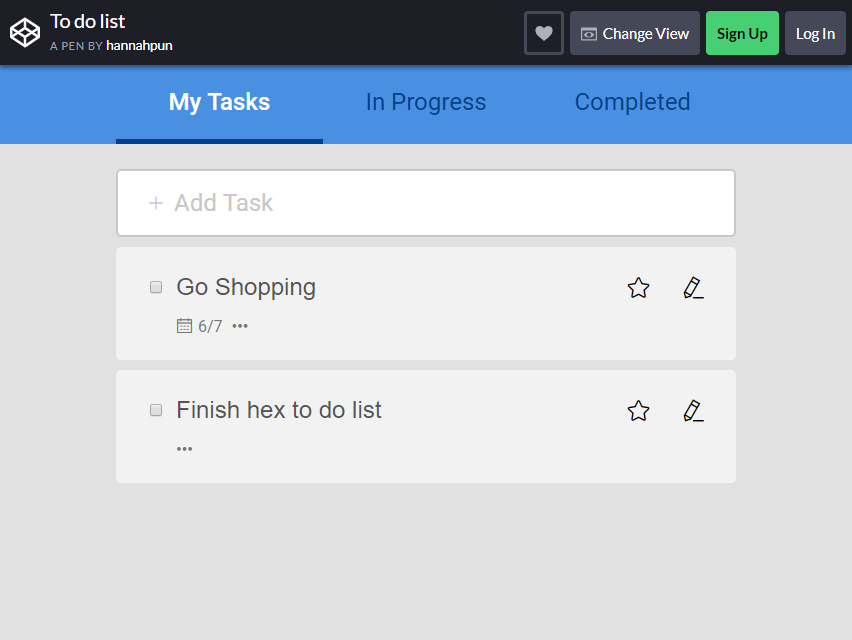
This format is ideal for listing all the activities or task you need to finish. It is separated into three: My Tasks, In Progress, and Completed. At the My Task section, just add a task you need to perform.
You can put everything (e.g. go shopping, finish household chores, finish an assignment, etc.) that need to be done in a day. Also, you can EDIT it as much as you like.
You can also type the deadline of your activity, and upload a file if you want to. Lastly, you can also write a comment about the task you’ve written.
In the ‘Progress’ session, that’s where you will put the activity you are currently doing, while in the ‘Completed’ section where you will include all the finished tasks.
Custom Animated Input File

Are you looking for a simple photo upload format? In this file upload, pictures are only allowed. The accepted formats are jpg, jpeg, BMP, and png.
You can see the ‘Browse for your pic!’ button. Just click it, and file storage will come out. Remember to click only accepted format, unless it will be invalid.
This is perfect for blogs that are ONLY asking for a picture. It has a single purpose but to the right one.
React Profile Card with Image Upload
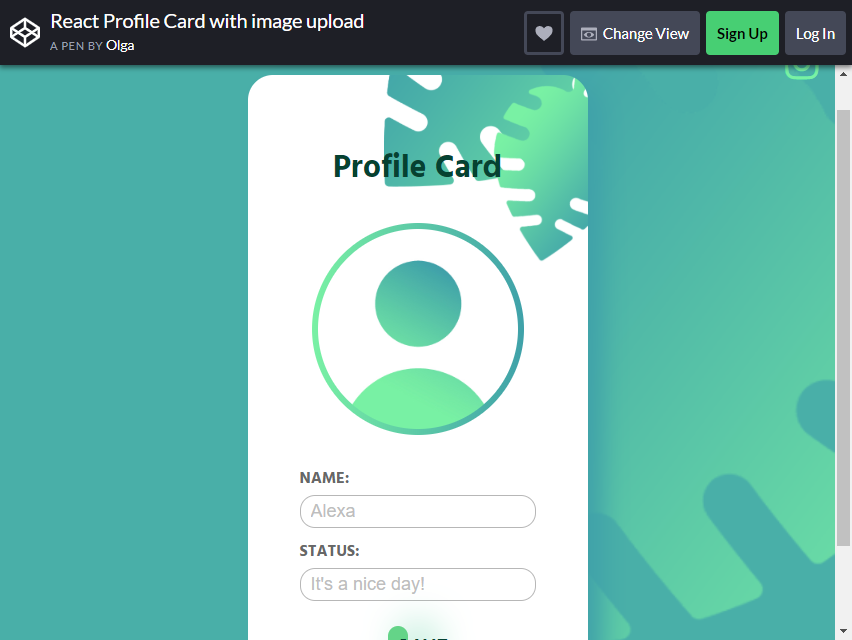
The profile card can be an asset to your blog or website. A user can upload his photo just by clicking the circle at the middle. Name and Status are included in the format.
Just type the name and the status for the day, then just click the ‘Save’ button, and it will appear to your format. The color and style are attractive. It is just perfect for any website themes or styles.
Thank you for visiting Colorlib and reading this article! We highly appreciate it! Now you might want to learn how to make a website using our free WordPress themes.